Attendance monitoring in Space
Overview
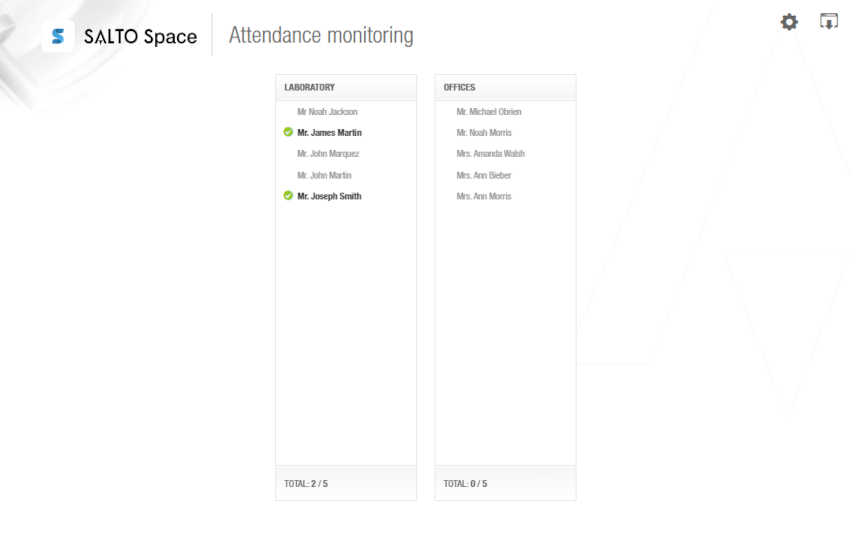
Attendance monitoring identifies whether there are users inside a specific location in an installation. You can use it to list the individual users in a specified area, for example, a laboratory.
Attendance areas must first be created in Roll-call areas. Once the areas are created, the users must be assigned to an attendance area in Attendance configuration.
The attendance functionality is license-dependent. See Registering and licensing Space for more information.
Accessing attendance monitoring
The Attendance monitoring window can be accessed by typing the following address in your browser: https://{{SERVER_NAME}}:{{PORT}}/kiosk/attendance/index.html.
Where {{SERVER_NAME}} and {{PORT}} correspond to the server name and port number for your instance of Space.
You can also find the correct link for your installation in System > Attendance configuration as well as in the About window, under the Kiosks section. See Operator area for information on how to access the About window.
Logging in to attendance monitoring
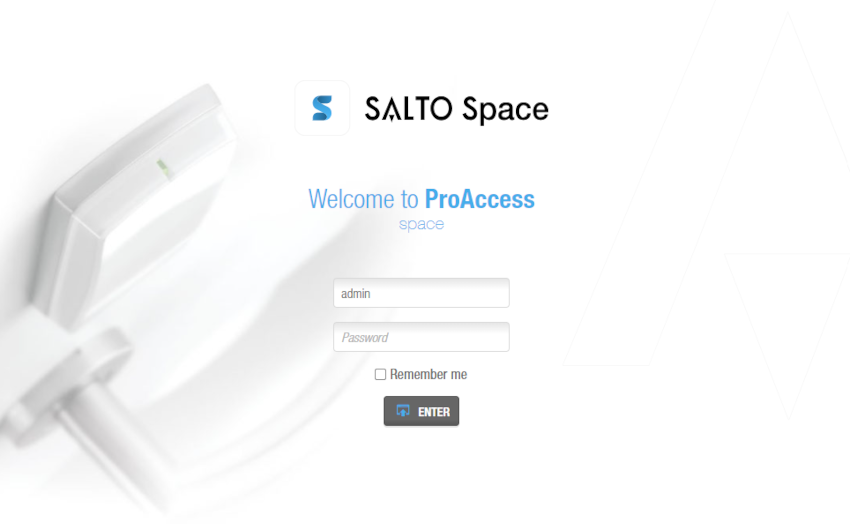
To log in, use the same operator login details you use for Space. You can check the box Remember me so your password is memorized for Attendance monitoring.
 Use the same login details you use in Space
A maximum of 20 areas can be created and a maximum of 20 users per area can be added. The Attendance monitoring screen can show a maximum of 5 areas per page.
 'Attendance monitoring' screen
Changing language
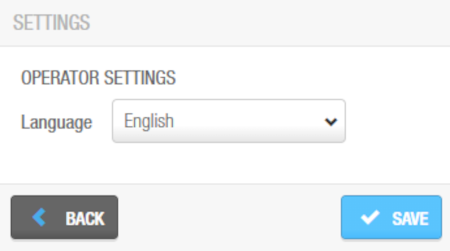
You can view the Attendance monitoring screen in several different languages. To change the language, do the following:
Click the Settings icon (gear icon) on the right-hand top corner.
Select the language.
Save the changes.
Click Back to return to the Attendance monitoring screen.
 Change the language of the 'Attendance monitoring' screen from the 'Settings' dialog box
 Back
Back