Roll-call areas in Space
Overview
A roll call is used to list the individual users in a specified area at a particular time. For example, you can use a roll call to generate a report after a fire alarm goes off. This way, it is possible to check whether all the users in the area have been evacuated in a safe way. The system generates the roll call by monitoring specific access points. By tracking when cardholders enter and exit using these access points, it is possible to see who is inside or outside the roll-call area.
Note that the roll-call functionality is license-dependent. See Registering and licensing Space for more information.
See Roll-call monitoring for information about generating a list of individual user names in a roll-call area in Space. You can also use Roll-call monitoring to do other roll-call tasks, such as searching all roll-call areas for a user and the time and date each user entered the roll-call area.
Creating roll-call areas
To create a roll-call area, do the following:
- Select Access points > Roll-call areas. The Roll-call areas screen is displayed.
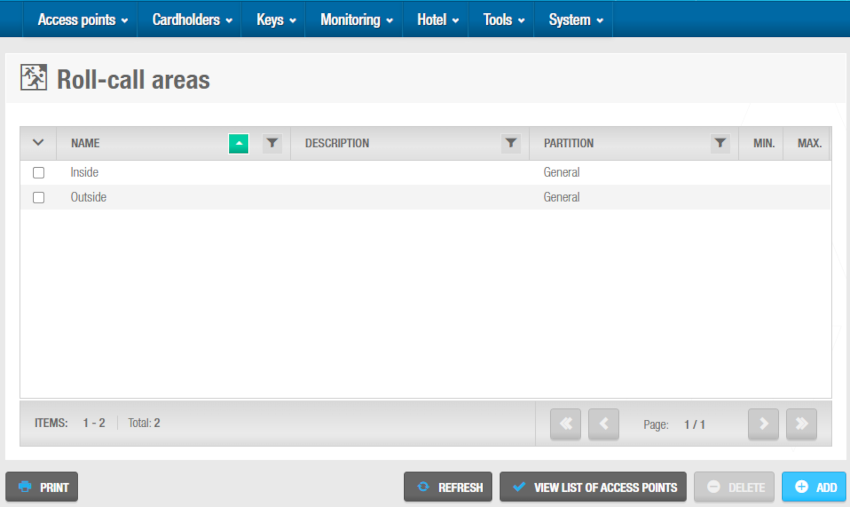 'Roll-call areas' screen
The View list of access points button shows a list of access points associated with all roll-call areas.
- Click Add. The Roll-call area information screen displays.
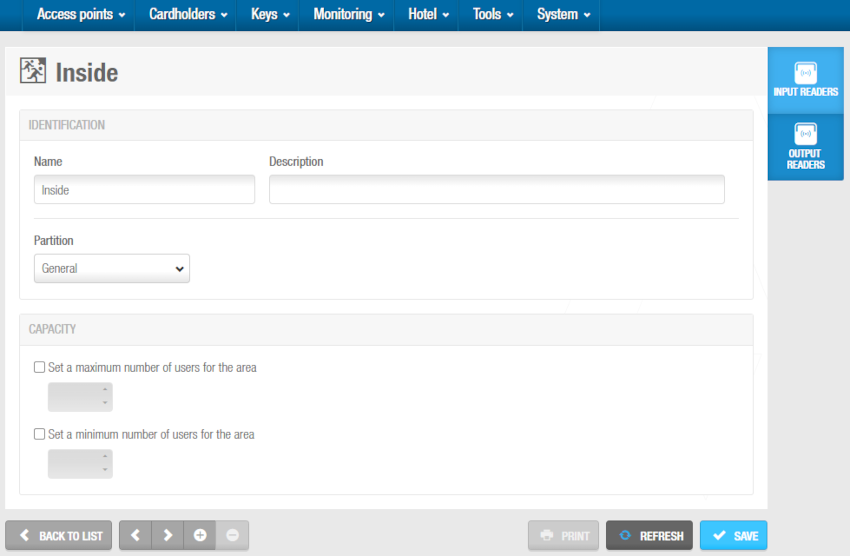 'Roll-call area' information screen
Type a name for the roll-call area in the Name field.
Type a description for the roll-call area in the Description field.
Select the Partition in which you want to configure the roll-call area. See Partitions for more information.
In the area of Capacity you can select the possibility of configuring the maximum number of users for the area and also the minimum number of users for the area.
Click Save.
You can configure a multilevel antipassback. For that, see General options > Access points to activate Enable antipassback in roll call areas. The devices must be online or double reader SVN-Flex, that is, one reader for entry and another one for exit, to have this functionality running in the correct way.
Creating roll-call exterior areas
Roll-call areas list the individual users in a specified area at a particular time. To account for the individual users who are on an installation but are not in any of the designated roll-call areas, you need to create a separate, exterior area, for example, an assembly area. This is an important concept to consider when creating roll-call areas.

In the above example, there are three standard roll-call areas: A1, A2, and A3. The exterior area is A0, which lists all users who are not in A1, A2, or A3.
A user in A1, A2, or A3 must present their key to a wall reader to exit that roll-call area. When a user presents their key, the system determines that the user has exited the area and entered the exterior area A0. The exterior area allows the system to create accurate roll-call lists, accounting for all the people who are present.
Associating roll-call areas
Once you have created a roll-call area, you must associate wall readers with that roll-call area. Each roll-call area must have two wall readers: one to track users entering the area and another to track users exiting the area. The following section describes how to associate roll-call areas with readers.
Readers
To associate a reader with a roll-call area, follow the steps below:
Select Access points > Roll-call areas. The Roll-call areas screen is displayed.
Click the roll-call area that you want to associate with a reader. The Roll-call area information screen is displayed.
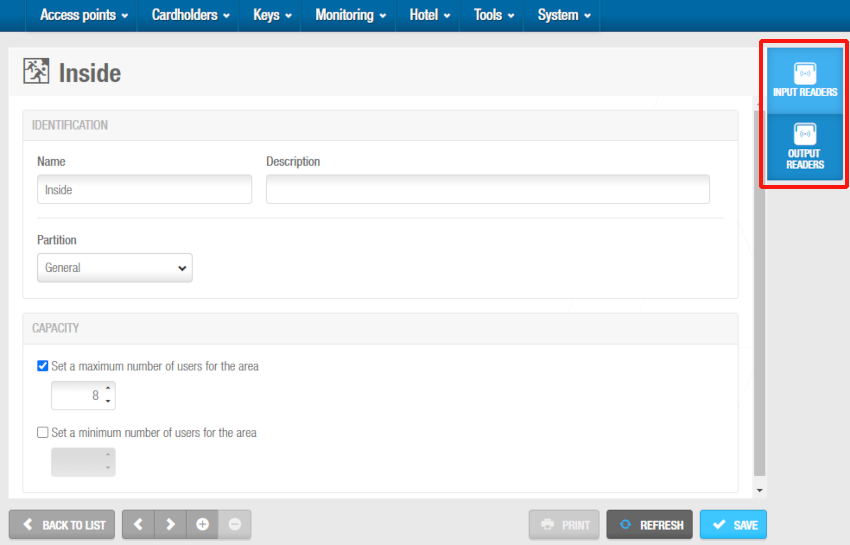 Roll-call areas readers configuration
- Click Input readers in the sidebar. The Input readers dialog box is displayed. Note that the dialog box will be blank if you have not yet associated an access point with this particular roll-call area. 'Input reader' refers to a reader for entry.
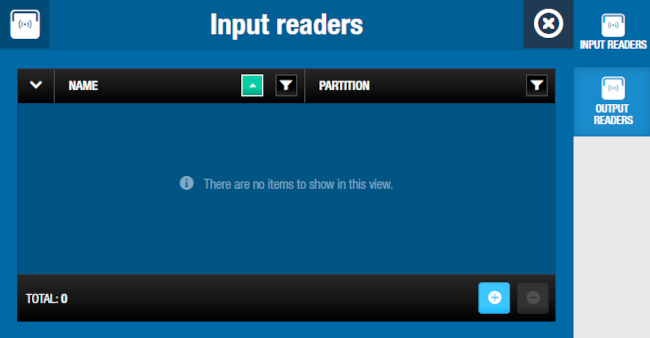 Roll-call areas readers configuration - Inside reader configuration
- Click Add. The Add dialog box, showing a list of access points, is displayed. This list only applies to online CUs where there are two physical wall readers.
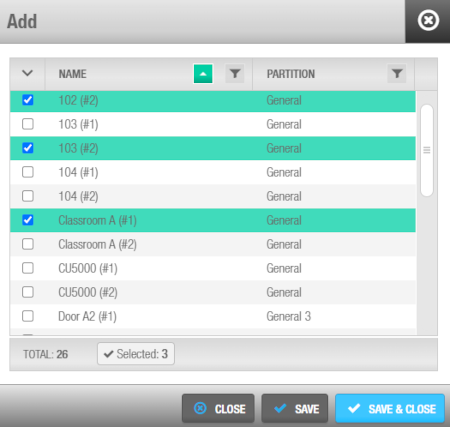 Roll Call Areas readers configuration - Reader selection
Select the required access point and save the changes. The roll-call area is now associated with the access point.
Do the same to associate roll-call areas to output readers. 'Output reader' refers to a reader for exit.
To dissociate a reader from a roll-call area, from the Input reader or Output reader dialog box of the specific roll-call area, follow the steps below:
Select the reader to be deleted.
Click on Delete and confirm the action in the Warning dialog box.
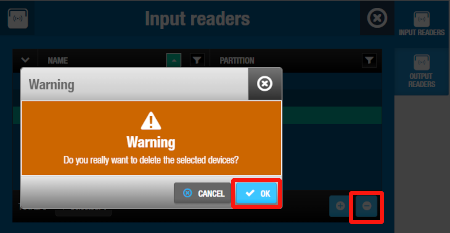 Click on 'Delete' and confirm the action