Lockdown areas in Space
Overview
A lockdown area is a defined area where all access points can be locked or unlocked in an emergency situation. For example, a lockdown area in a university campus could be all access points in the physics building. If there is ever a security threat (or other type of emergency situation) within that building, you can choose to lock or unlock all the doors as appropriate.
The lockdown functionality is license-dependent. See Registering and licensing Space for more information.
See Lockdown monitoring for information about unlocking and locking lockdown areas.
You cannot use Lockdown monitoring in Space to lock and unlock offline doors in an emergency situation. However, if offline doors are fitted with AMOK locks, which have two readers, like the Salto XS4 Original AMOK model, you can give users permissions to do a manual lockdown. To do this, you must select the Set lockdown option on the User information screen. This means that users can enable and disable lockdown mode for the doors by presenting their key to the door's inside reader. You can also give users permissions to unlock both online and offline doors when they are in lockdown by selecting the Override lockdown checkbox on the User information screen. See Key options for more information.
The following sections describe how to create and associate lockdown areas within Space.
Creating lockdown areas
To create a lockdown area, do the following:
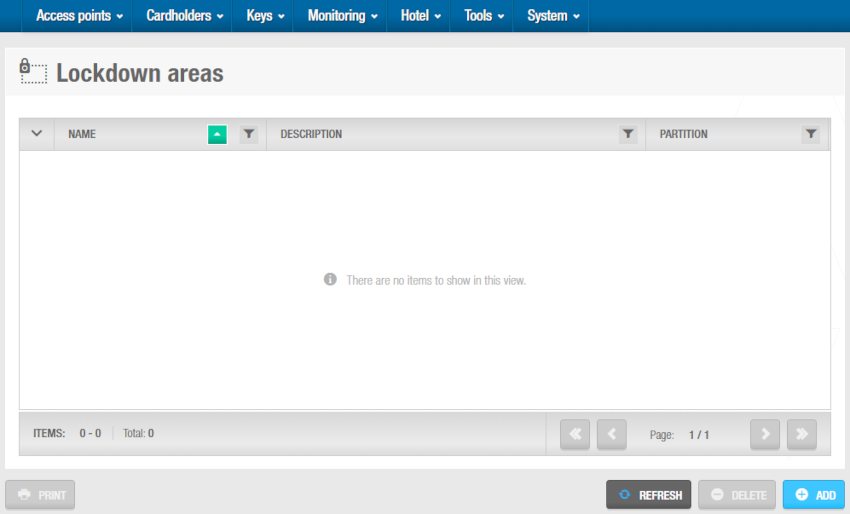
- Select Access points > Lockdown areas. The Lockdown areas screen is displayed.
 'Lockdown areas' screen
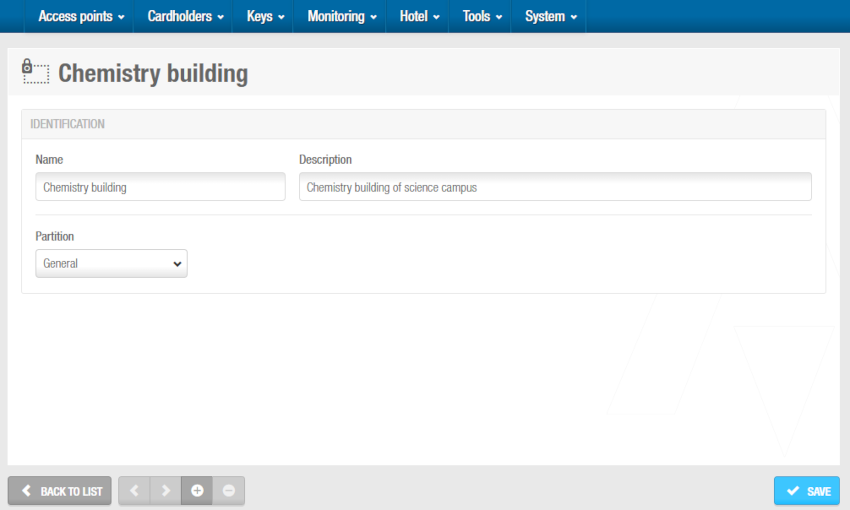
- Click on Add. The Lockdown areas information screen is displayed.
 'Lockdown area' information screen
Type a name for the lockdown area in the Name field.
Type a description for the lockdown area in the Description field.
Select the relevant partition from the Partition drop-down list, if required. See Partitions for more information.
Note that the partitions functionality is license-dependent. See Registering and licensing Space for more information.
- Click Save.
Associating lockdown areas
Once you have created a lockdown area, you must associate access points with that lockdown area. The following section describes how to associate lockdown areas with access points.
Access points
To associate an online access point with a lockdown area, follow the steps below:
Select Access points > Lockdown areas. The Lockdown areas screen is displayed.
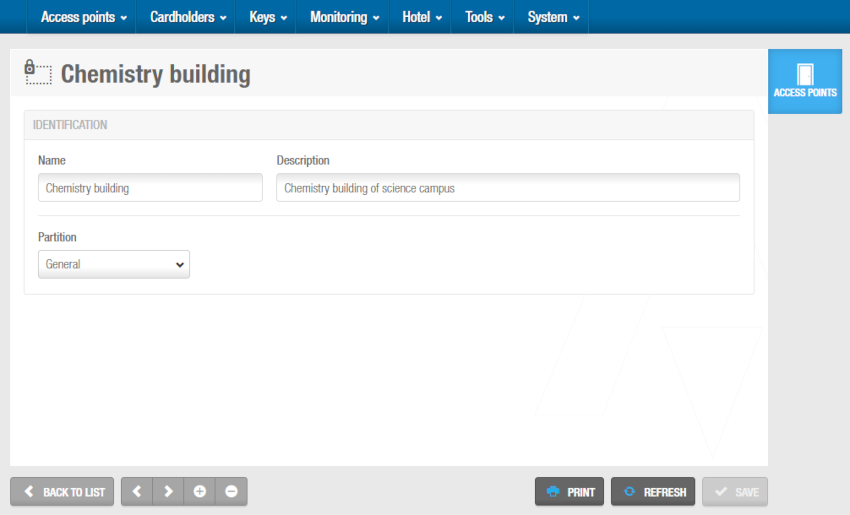
Click the lockdown area that you want to associate with an access point. The Lockdown area information screen is displayed.
 'Lockdown area' information screen with the sidebar
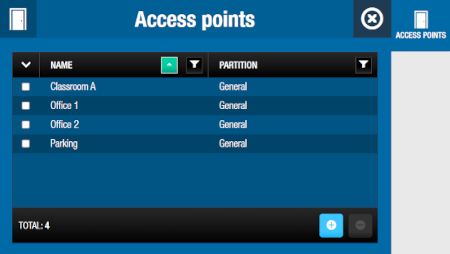
- Click Access points in the sidebar. The Access points dialog box is displayed.
 'Access points' dialog box
Note that the dialog box will be blank if you have not yet associated an access point with this particular lockdown area.
Click Add. The Add dialog box, showing a list of access points, is displayed.
Select the required access point and click on Save & Close. The access point is now associated with the lockdown area.
To dissociate a lockdown area from a door, from the Access point dialog box of the specific lockdown area, do the following:
Select the access point to be deleted.
Click on Delete and confirm the action in the Warning dialog box.
 Back
Back
