Guests in Space
Overview
A guest can be described as someone who is staying temporarily at a hotel and requires access to an assigned room for a fixed period of time. Hotel guests should not be confused with users. Users in a hotel installation refer to members of the hotel staff rather than guests.
There are two categories related to guests:
Guest: A person requiring one room or a suite
Group: A number of guests requiring multiple rooms
You can click on the following sections to see a description on the associated configuration options for both hotel guest categories:
- Guests
| Section | Description |
|---|---|
| Guests | This section is about how to view, configure, associate, etc., guests. You are already in that section. |
| Guest access levels | This section is about how to create and associate guest access levels. |
| Guest check-in | A description of how to do the check-in process by selecting rooms, adding the check-in information, etc. |
| Guest check-out | A description of how to do the check-out process for a guest. |
- Group
| Section | Description |
|---|---|
| Group check-in | This section is about how to enter group check-in information, pre-edit guest keys, etc. |
| Group check-out | A description of how to do the check-out process of a group of guests. |
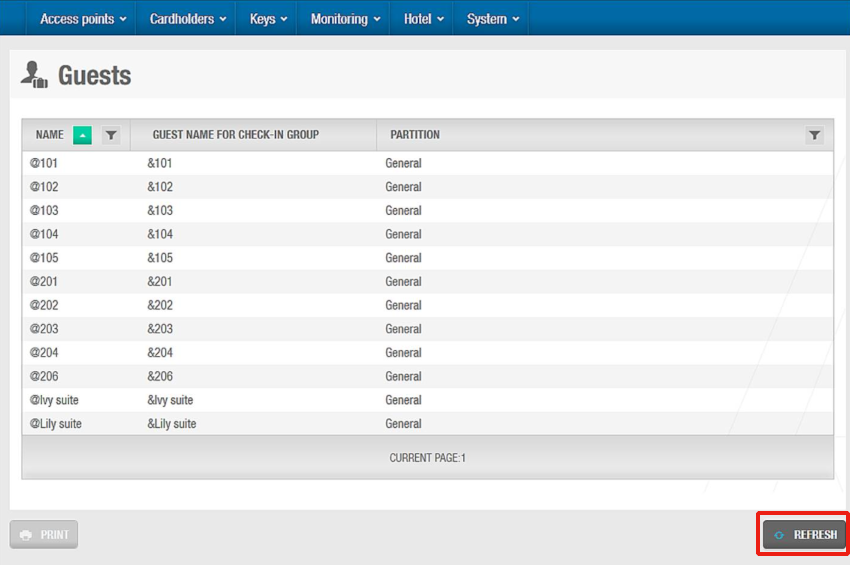
When you create rooms and suites, guest profiles are automatically added to the Guests information screen. These profiles show system-generated names that associate the guest with their room and check-in group (rather than individual guest names). Each profile corresponds to the name of a particular room or suite, for example, @104 or @Ivy suite. It also shows a check-in group name, for example, &101 or &Ivy suite. This allows you to view a list of guests, configure guest profiles, and associate guests with guest access levels.
Viewing the guest list
You can view the list of guests by selecting Cardholders > Guests. Note that you can access the most up to date list by clicking Refresh.
 You can view a list of guests from the 'Cardholders' menu
Configuring guests
You can add specific information to guest profiles and enable extended door opening times.
Adding additional information
By default, the Guest information screen only displays the guest name, the guest name for check-in groups, the partition (if enabled in the installation's license options), and the extended opening time option.
However, if required, you can also activate up to five general purpose fields on the Guest information screen. To activate a general purpose field, you must select an Enable field checkbox in System > General options > Hotel. You can then name the field in accordance with the information that you want to capture, for example, special requirements. See Hotel tab for more information.
Enabling extended door opening times
To enable an extended door opening time for a guest, do the following:
Select Cardholders > Guests. The Guests screen is displayed.
Click on the name of the relevant guest. The Guest information screen is displayed.
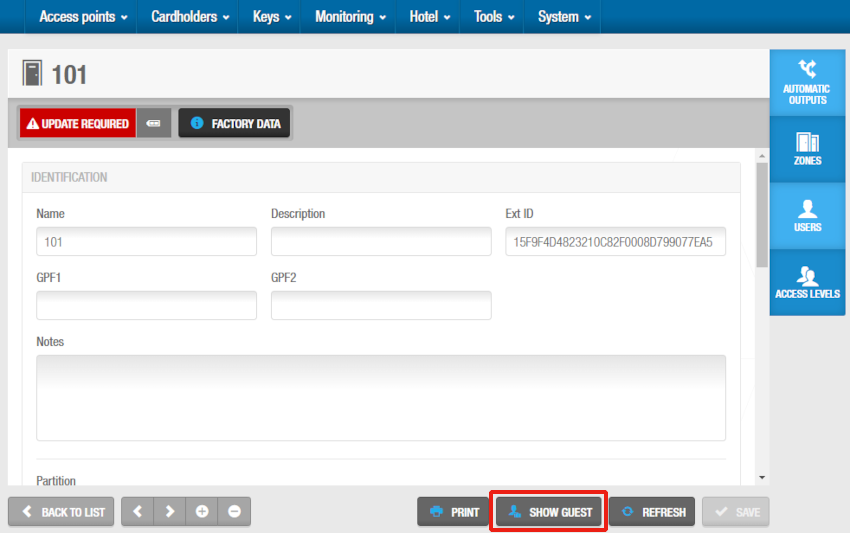
You can also access the Guest information screen by clicking Show Guest on the Room or Suite information screen.
 'Show guest' button on the 'Room' information screen
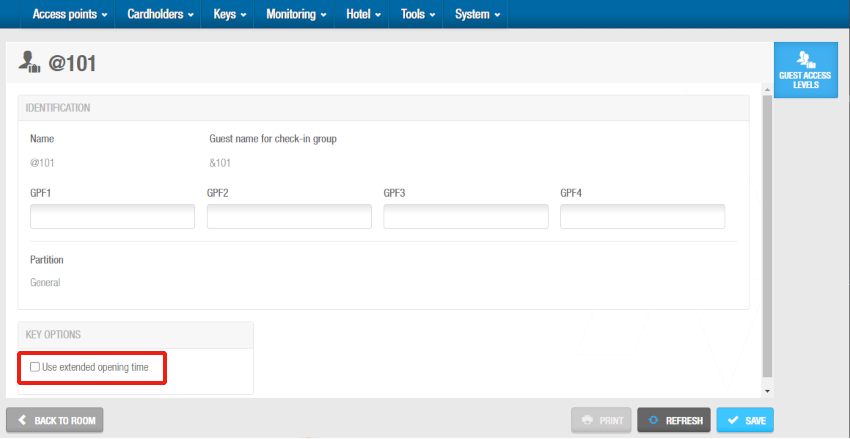
- Select the Use extended opening time checkbox.
 'Use extended opening time' checkbox
- Click Save.
You must set the value of the extended door opening time in the Increased open time field on the Room information screen.
Associating guests
Guest access levels are associated with access points. For example, the room door or communal doors in the hotel, like the main door or access to the swimming pool. See Guest access levels for more information. In order for the guest to use those access points, their guest profile must be associated with a guest access level.
Guest access levels
To associate a guest access level with a guest, do the following:
Select Cardholders > Guests. The Guests screen is displayed.
Click on the guest that you want to associate with a guest access level. The Guest information screen is displayed.
Click on Guest access levels in the sidebar. The Guest access levels dialog box is displayed. Note that the dialog box will be blank if you have not yet associated a guest access level.
Click on Add. The Add dialog box, showing a list of guest access levels, is displayed.
Select the required guest access levels.
Click Save & Close. The guest is now associated with the guest access levels.
To dissociate a guest from a guest access level, from the Guest access levels dialog box of the specific guest, do the following:
Select the guest access level to be deleted.
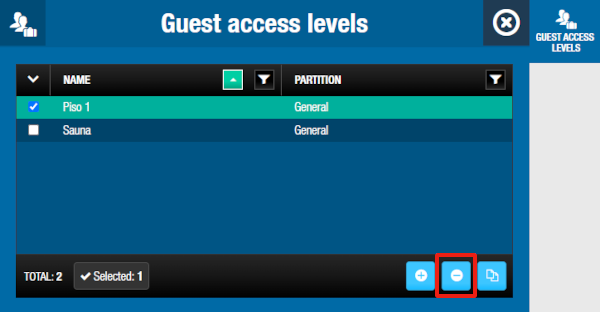
Click on Delete and confirm the action in the Warning dialog box.
 Delete button
 Back
Back
