Installing Spaxx
Once you have downloaded the Spaxx connector installation file from the Salto Partner Area, follow the steps below.
Installation wizard
- Run SpaceRelaxxSyncAgentSetup as an administrator.
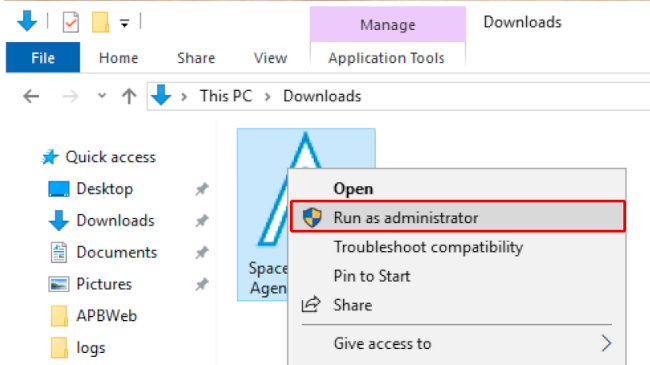 Run the installation file as an administrator
- The installation wizard opens. It will guide you through the different steps during the installation. Click Next.
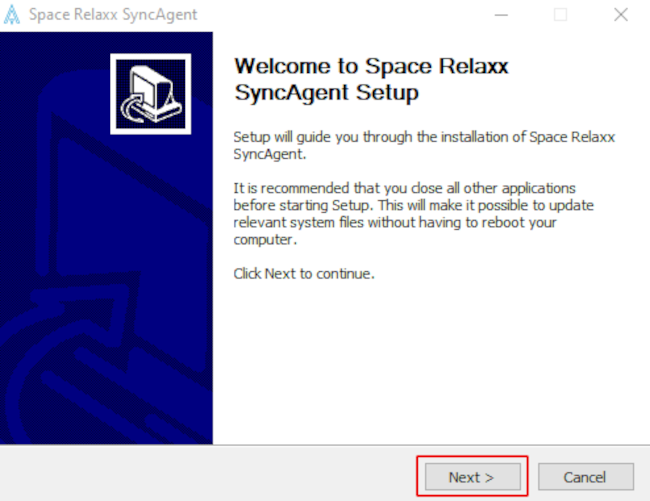 Installation wizard welcome page
- Click I agree to accept the terms of the agreement. You must accept the terms of the agreement to install Space Relaxx SyncAgent.
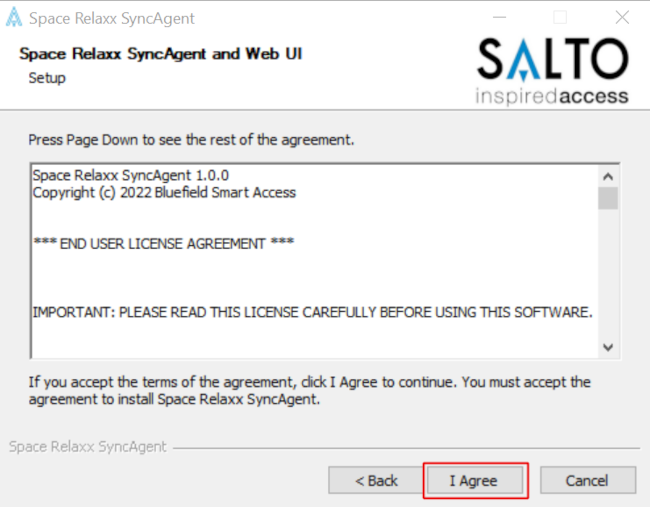 Installation wizard license agreement
Install the required software items if you have yet to do so. See System requirements for more information.
Once installed, click Next.
If the PC does not detect the required software, the wizard will show the below message indicating which components need to be installed. An internet connection is required to download these components.
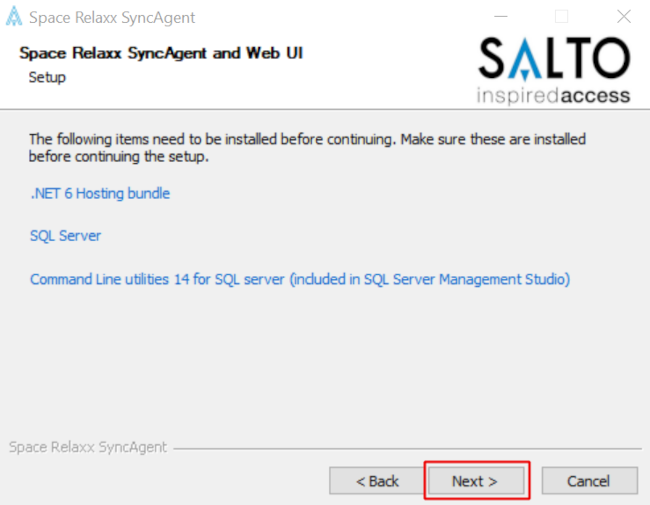 Message indicating additional software is required
Create the Space Relaxx SyncAgent SQL database by defining the hostname where the SQL instance is located and providing SQL credentials with
dbcreatoraccess rights.You can use Windows authentication by selecting the Windows authentication checkbox.
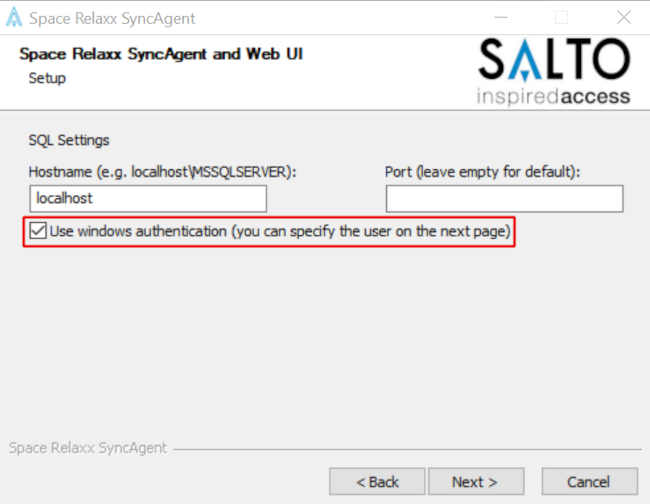 SQL settings using Windows authentication
Or you can use SQL authentication by deselecting the Windows authentication checkbox.
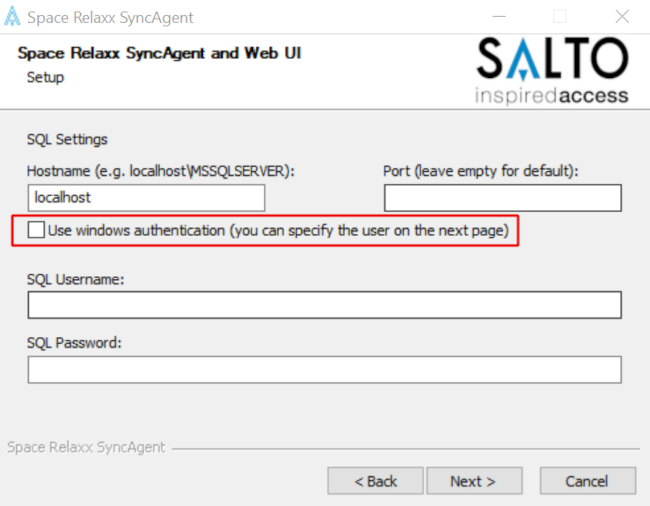 SQL settings using SQL authentication
- Specify the service account that will have access to the database. If you selected Windows authentication in the previous step, make sure that the user has rights to fully manage the database. Once you've selected the user and entered the required data, click Next.
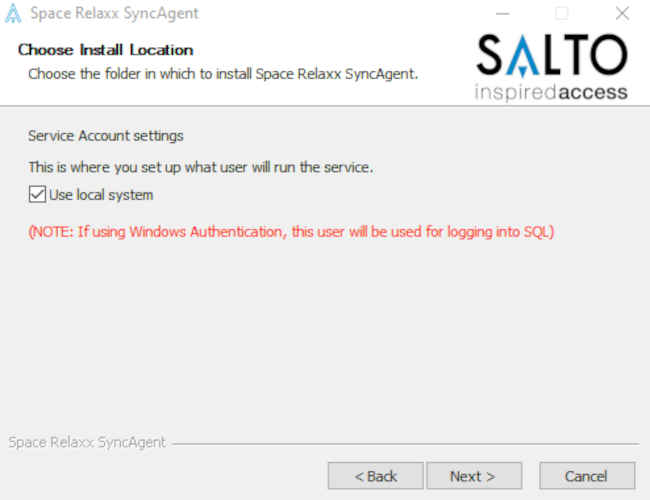 Service Account settings
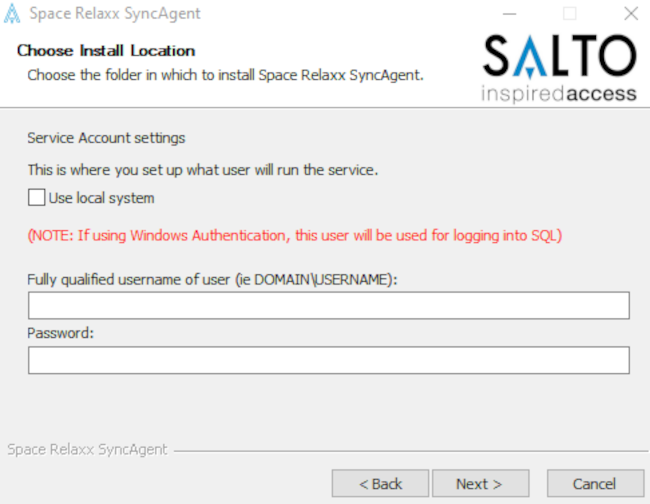 Enter username and password
- Select the location where the Space Relaxx SyncAgent components will be installed. Click Install.
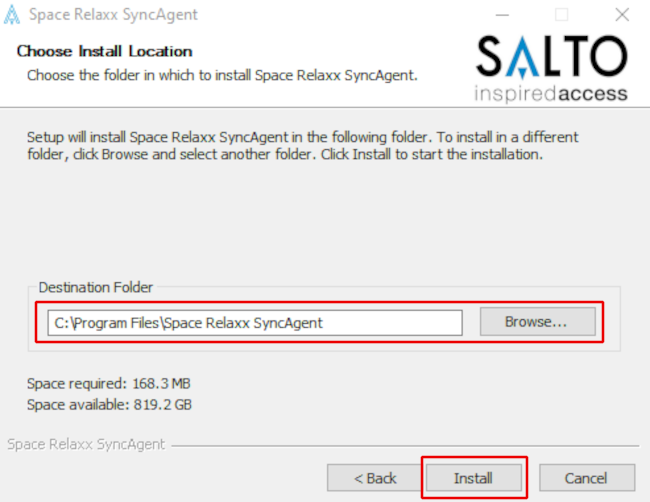 Choose the installation location
- If the setting is correct, the installation of the Space Relaxx SyncAgent will start. Once the installation is complete click Next.
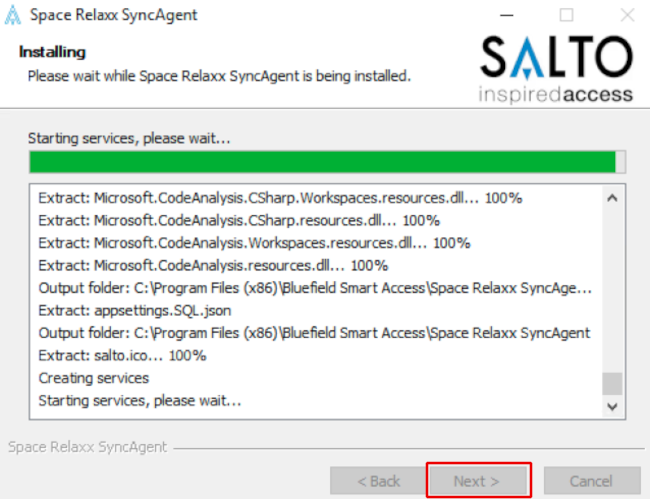 Space Relaxx SyncAgent installation in process
- Click Finish. Now you are able to access the Space Relaxx SyncAgent GUI through your web browser.
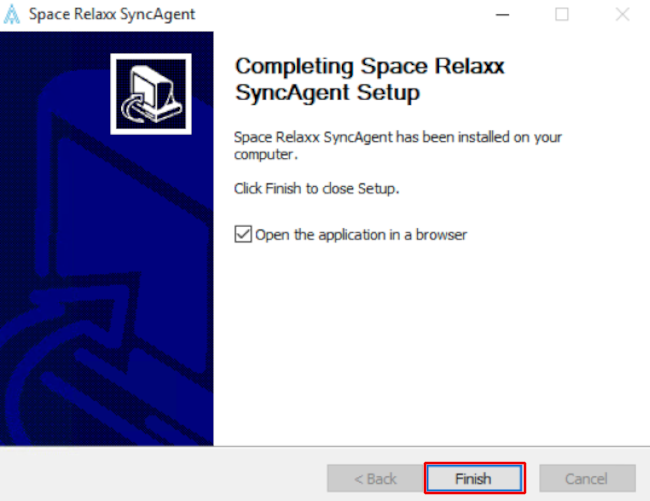 Completing Space Relaxx SyncAgent setup
A shortcut to access the application has also been created on your desktop.
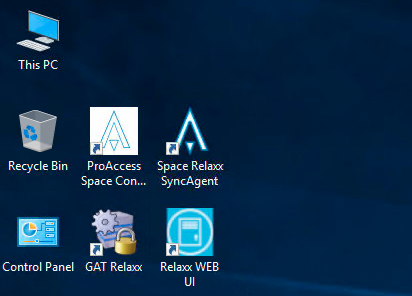 Desktop shortcut to GUI
Troubleshooting
If the shortcut shows an error and the web GUI does not work, check that the Space Relaxx SyncAgent and Space Relaxx Web services are up and running. To open the Service window, type "Services" in the Windows browser.
 Services window
Spaxx Connector requires Microsoft .NET 8 framework. Even if several frameworks can coexist in the same machine, it might happen in some cases that, even after installing the Microsoft .NET 8 framework, the default framework is still Microsoft .NET 5.
The Space Relaxx SyncAgent web browser application may not work properly even though:
- Space Relaxx SyncAgent and Space Relaxx Web services are installed and up and running
- and the SpaceRelaxxDb is created on SQL Server.
The problem could be due to a Microsoft .NET framework malfunction.
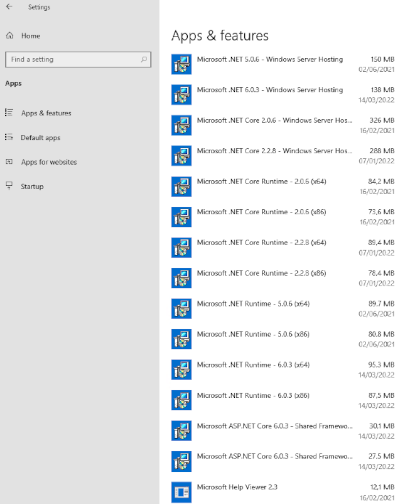 Example of coexisting Microsoft .NET versions
To fix this problem you could:
- Remove all the instances of the Microsoft .NET 5 framework
- Reboot the server or computer
- Reinstall the Spaxx connector
 Back
Back
