Create and configure a Virtual Front Desk
How to create and configure a Virtual Front Desk
A Virtual Front Desk (VFD) is a self-service kiosk for visitor and contractor registration in Salto IDM. Visitors use the public VFD page to register themselves and, depending on your configuration, receive a mobile key or door access after check-in. You manage the VFD from the admin portal, and each VFD has its own public URL.
Use this guide to create a VFD, configure its settings, and test the resulting visitor experience.
Step 1: Create a Virtual Front Desk
- In the left navigation, under Admin, go to Configuration > Virtual Front Desks.
- Select Create Virtual Front Desk in the top right.
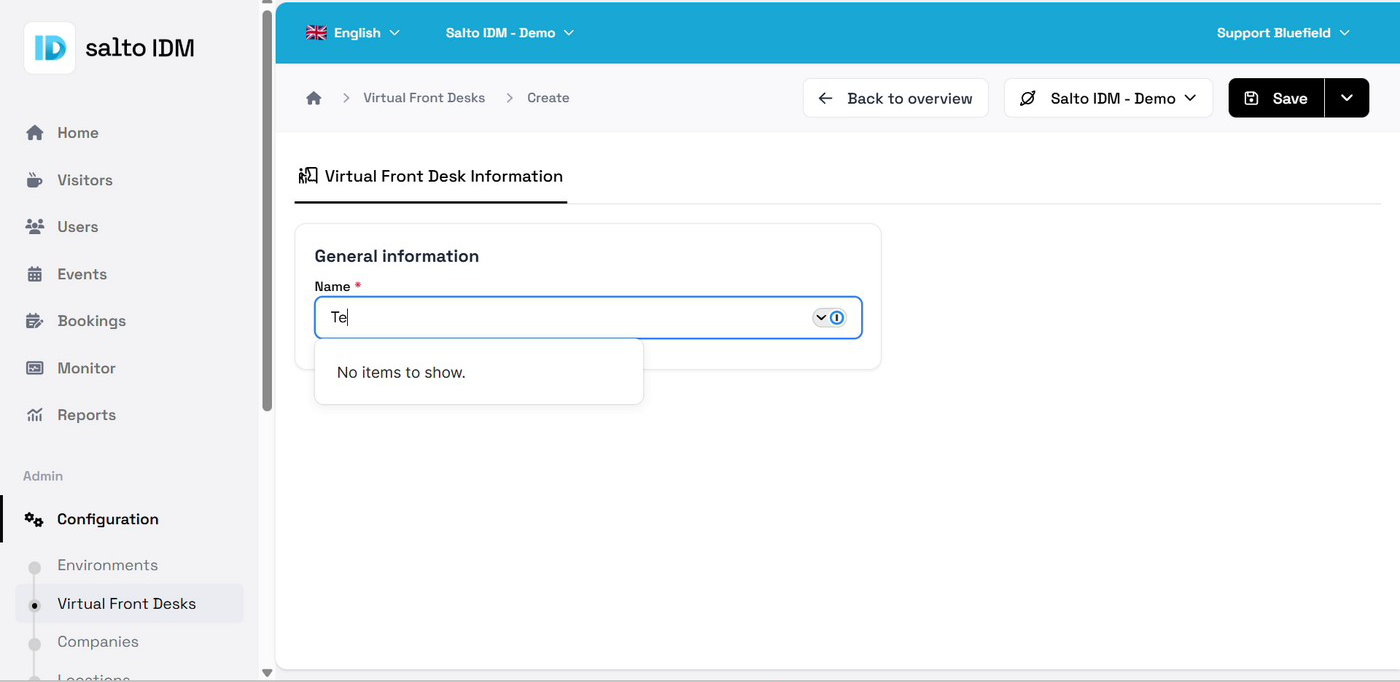
- Under General information, enter a Name.
- Select Save.
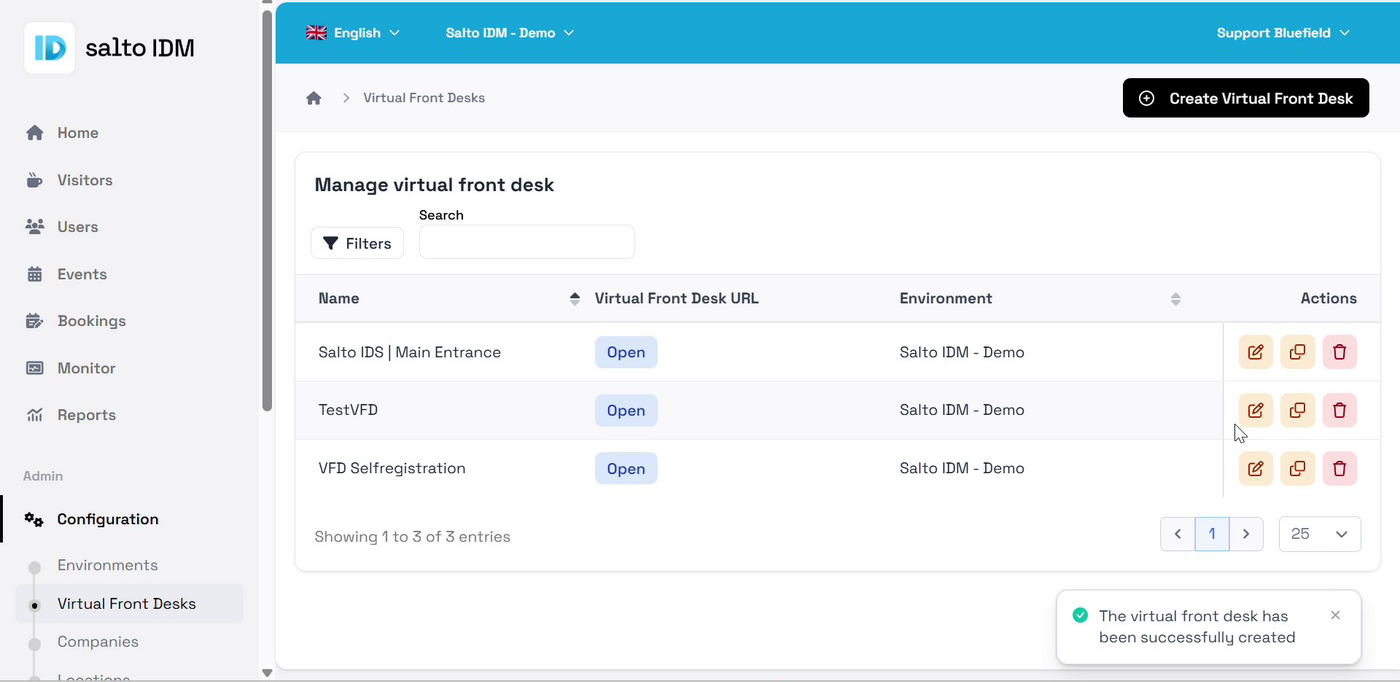
The page shows "The virtual front desk has been successfully created", and the new VFD appears in the overview.
Step 2: Configure the Virtual Front Desk
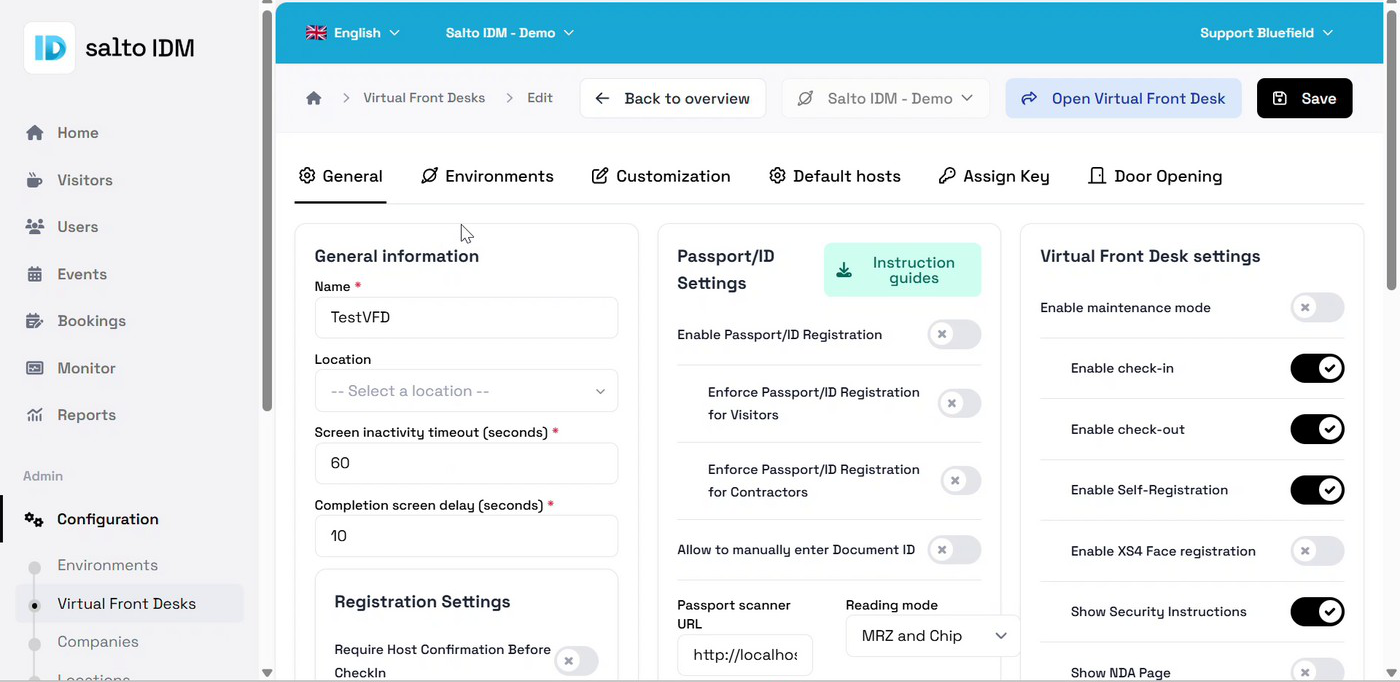
Select the edit icon under Actions to open the VFD. The editor has six tabs: General, Environments, Customization, Default hosts, Assign Key, and Door Opening.
General
Configure the core VFD settings, split across three columns:
- General information—includes Name, Location, Screen inactivity timeout (seconds), and Completion screen delay (seconds), followed by Registration Settings such as Require Host Confirmation Before Check-in.
- Passport/ID Settings—Enable Passport/ID Registration, enforced separately for Visitors and Contractors, an option to manually enter the Document ID, Passport scanner URL, and Reading mode (for example MRZ and Chip).
- Select Instruction guides for setup help.
- Virtual Front Desk settings—toggles that control what the VFD shows, including Enable maintenance mode, Enable check-in, Enable check-out, Enable Self-Registration, Enable XS4 Face registration, Show Security Instructions, Show NDA Page, Show Room Selection, Enabled for Visitors, Enabled for Contractors, and a working schedule.
Enabled for Visitors and Enabled for Contractors control which visitor types can register. When both are enabled, visitors see a type selection screen before registration.
Environments
Link the VFD to the environment or environments where it should be available.
Customization
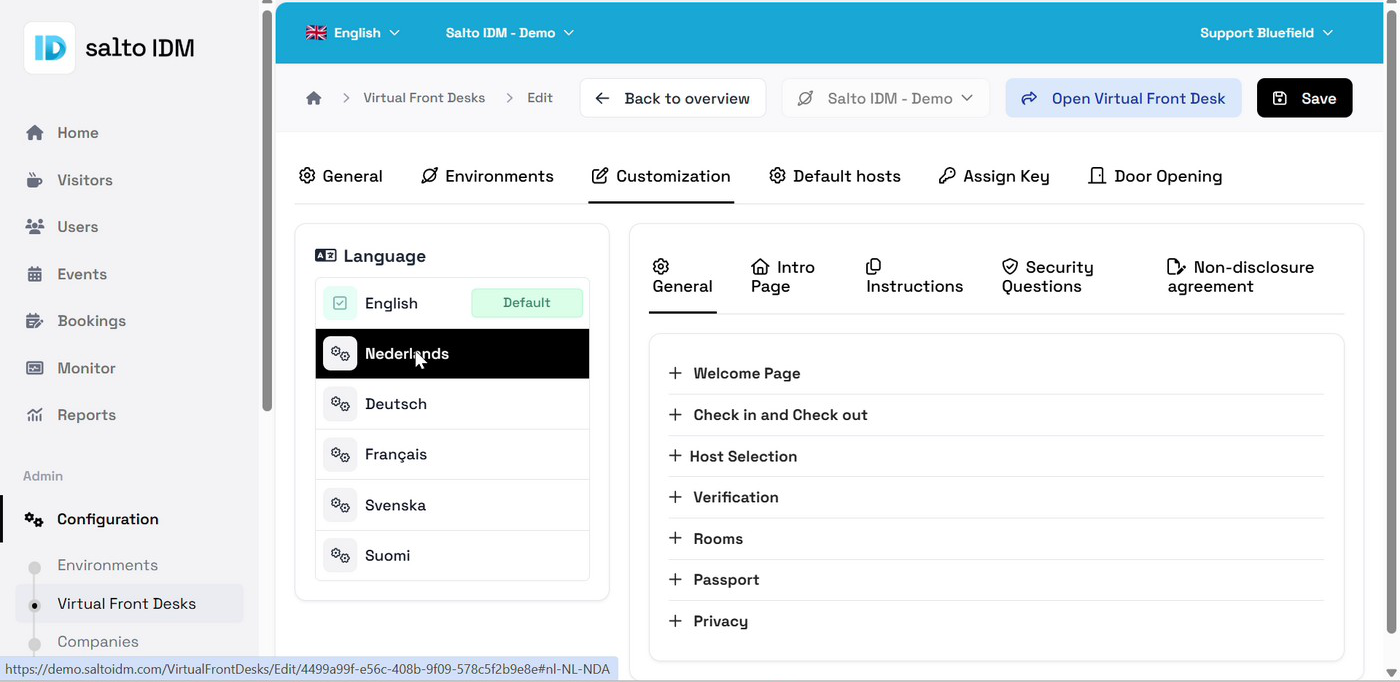
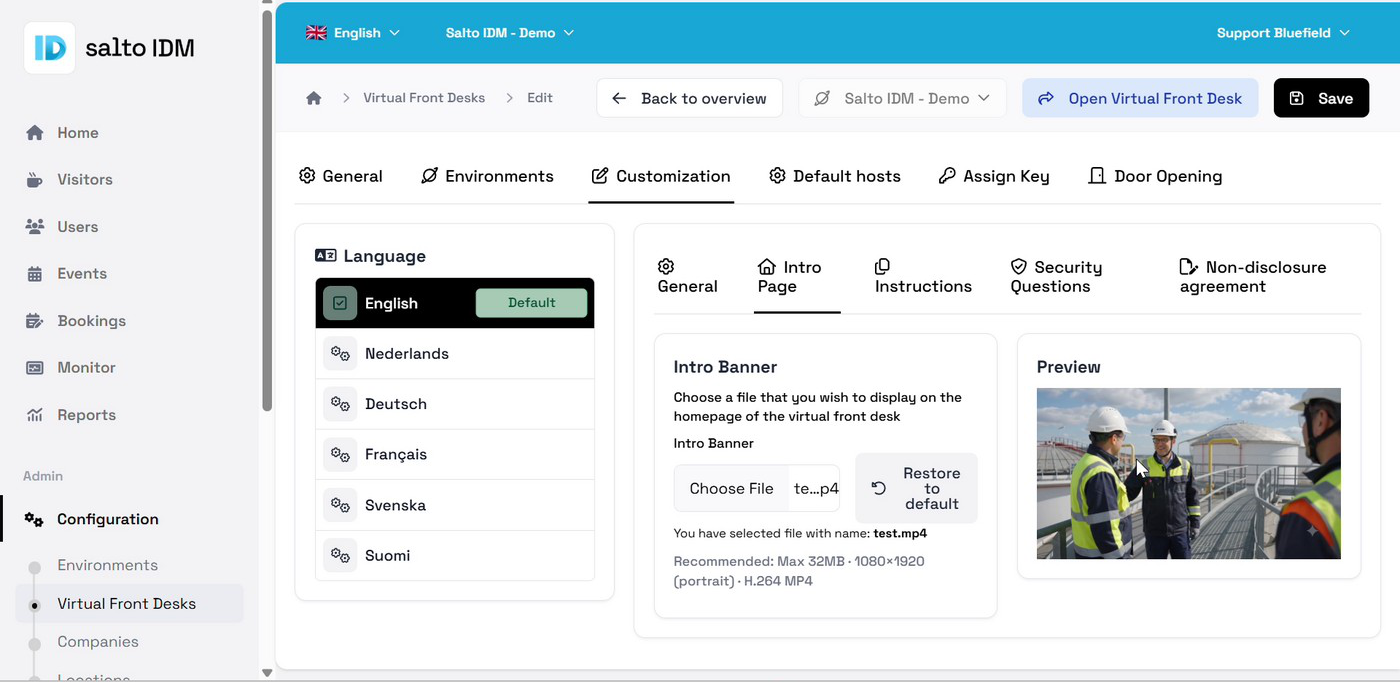
Configure the visitor-facing screens for each language.
- Select a language in the Language panel, for example English, Nederlands, Deutsch, Français, Svenska, or Suomi. Use the Default marking to set which language shows by default.
- Configure each sub-tab for that language:
- General—expandable sections for the Welcome Page, Check in and Check out, Host Selection, Verification, Rooms, Passport, and Privacy screens.
- Intro Page—upload an Intro Banner image or video for the VFD home screen using Choose File, and preview it before saving.
- Recommended format: maximum 32 MB, 1080×1920 (portrait), H.264 MP4.
- Select Restore to default to reset it.
- Instructions—safety and house rule instructions.
- Security Questions—optional screening questions.
- Non-disclosure agreement—the NDA text.
Repeat these steps for every language you want to offer.
Default hosts
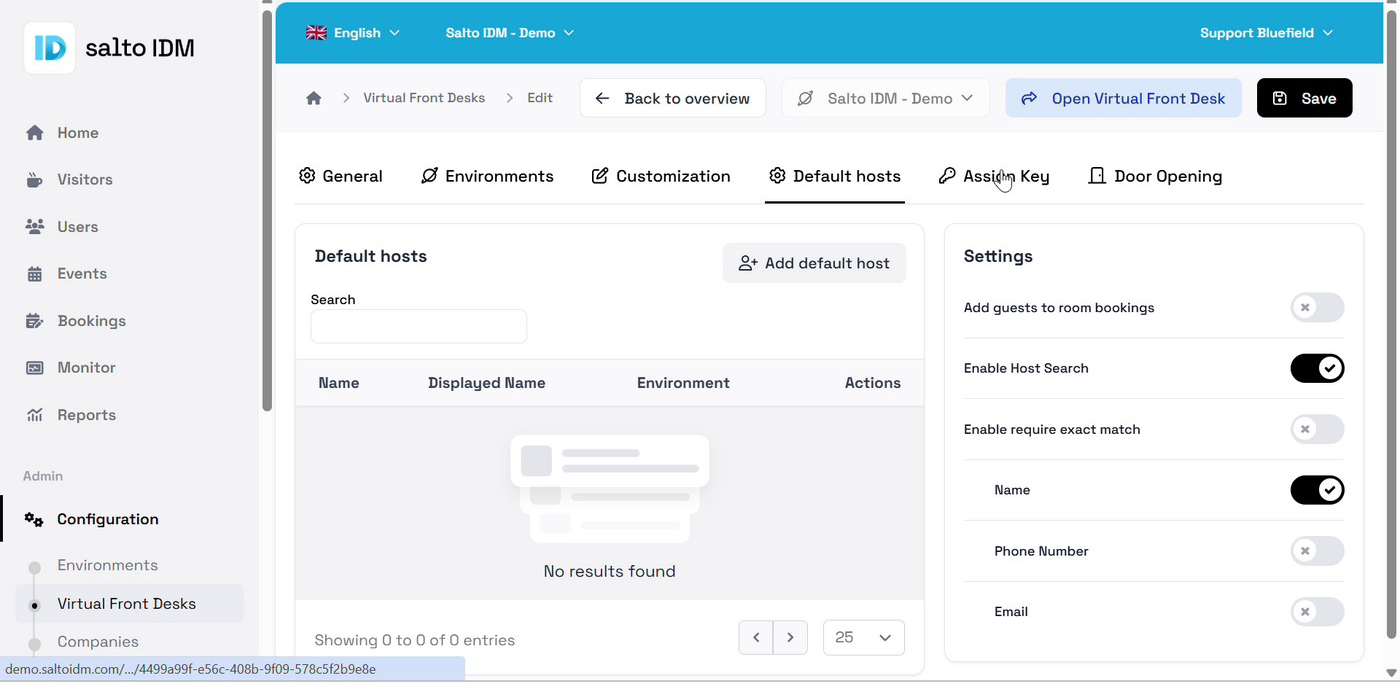
- Default hosts—add hosts visitors can select using Add default host.
- Each entry shows Name, Displayed Name, Environment, and available actions.
- Settings—control host search behavior with Add guests to room bookings, Enable Host Search, and Enable require exact match.
- Choose which fields (Name, Phone Number, Email) are used for exact matching.
Assign Key
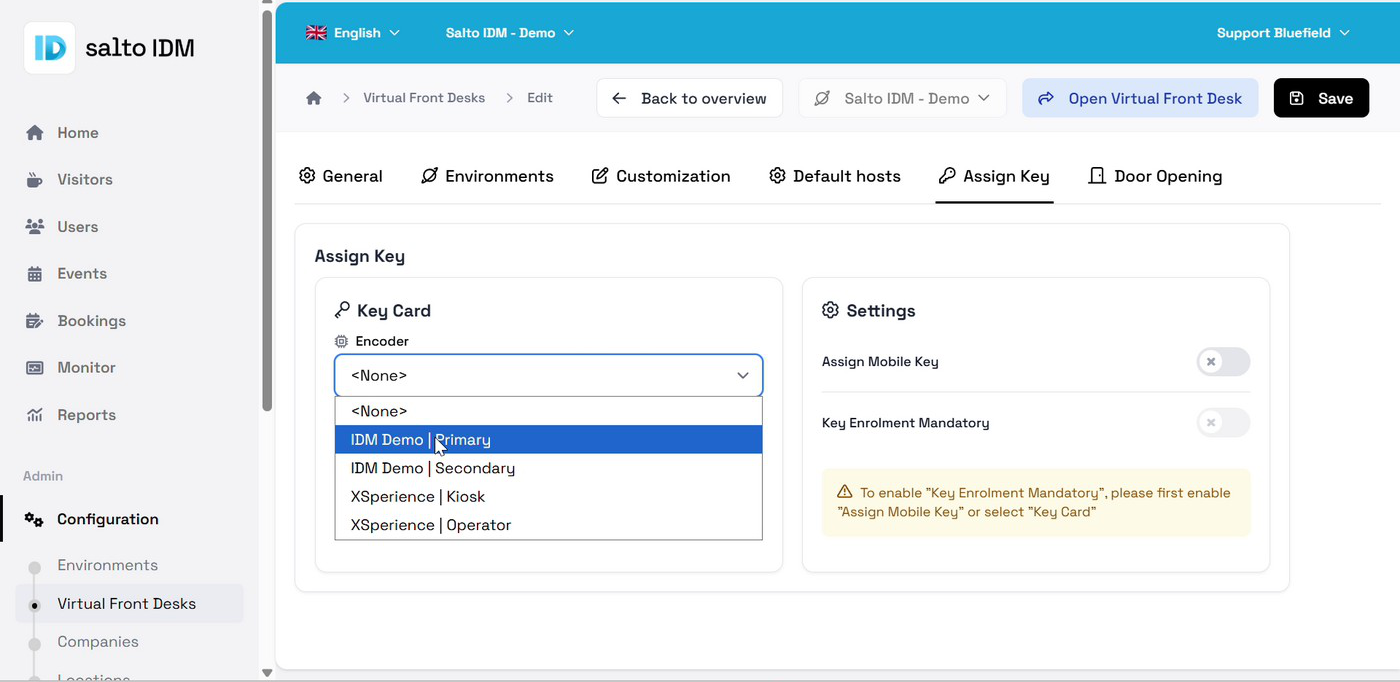
- Key Card > Encoder—select the encoder that issues the card, for example IDM Demo | Primary.
- Settings—includes Assign Mobile Key and Key Enrolment Mandatory.
To enable Key Enrolment Mandatory, first enable Assign Mobile Key or select a Key Card encoder.
Door Opening
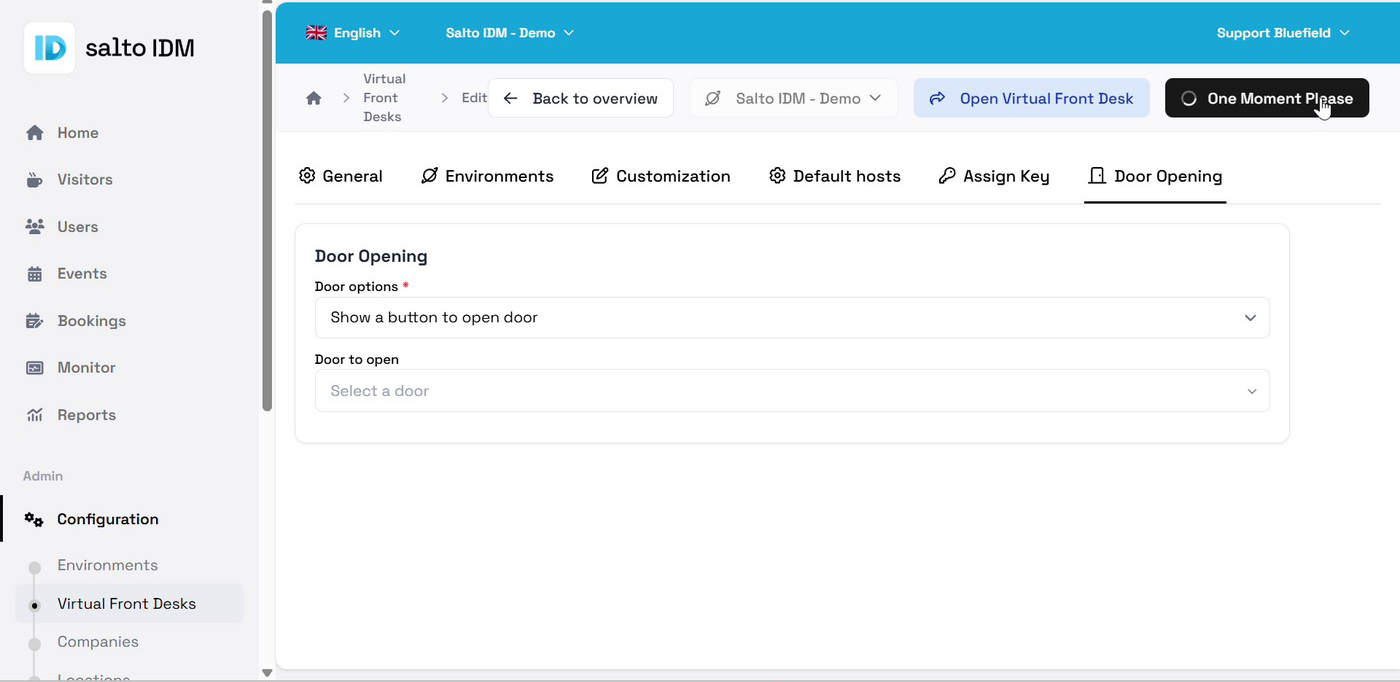
Choose how the door works under Door options. By default this is set to Do not open any doors. Select Show a button to open door, then choose the correct door under Door to open.
Step 3: Save and open the Virtual Front Desk
- Select Save to store the configuration.
- Select Open Virtual Front Desk to open the public VFD page (
.../Public/<ID>/) in a new tab and test it.
What visitors see
This is the full flow a new visitor sees on the public VFD page. Which screens appear, and in what order, depends on your General and Customization settings.
Welcome screen
The VFD opens with a welcome banner and introduction text. Visitors can select Change Language to switch languages, then select Continue.
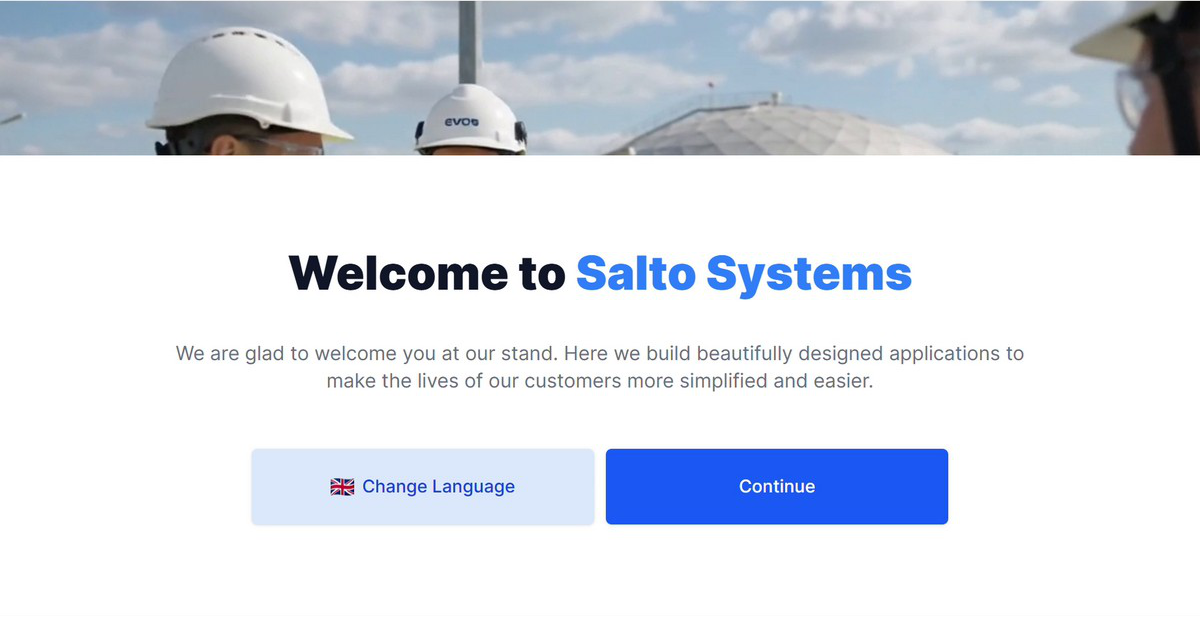
QR code or register
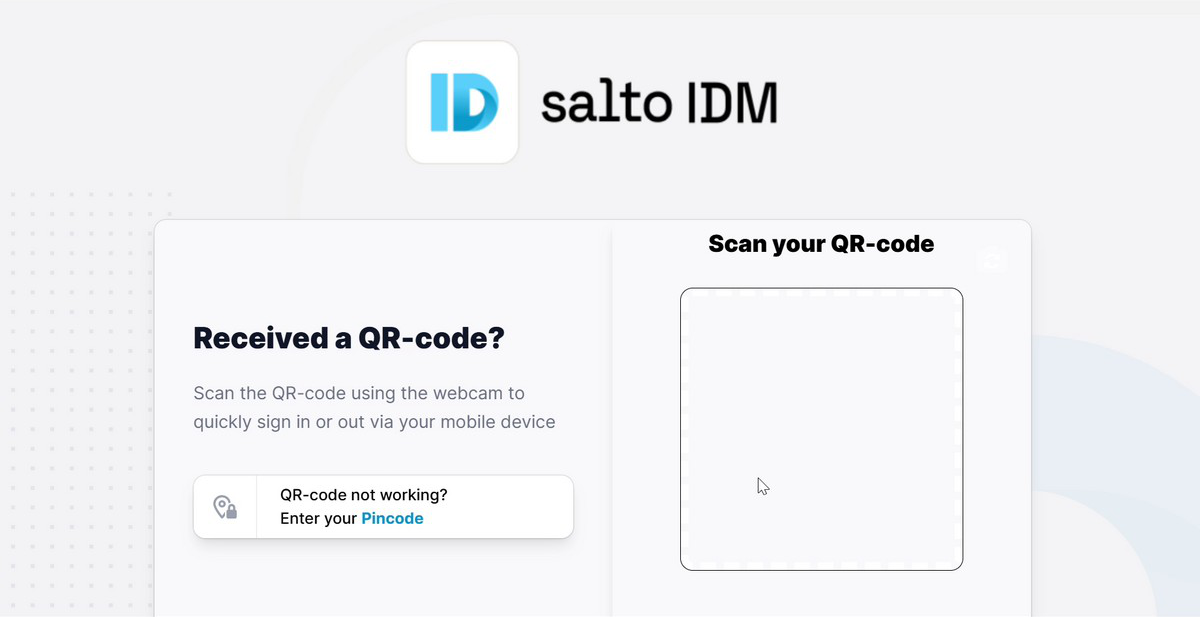
- Received a QR-code?—returning or pre-invited visitors scan their QR code using the webcam, or select Enter your Pincode if scanning fails.
- Register—new visitors start self-registration here.
Scanning a QR code requires camera access. The browser prompts for permission, and the visitor or kiosk must select Allow.
Visitor type
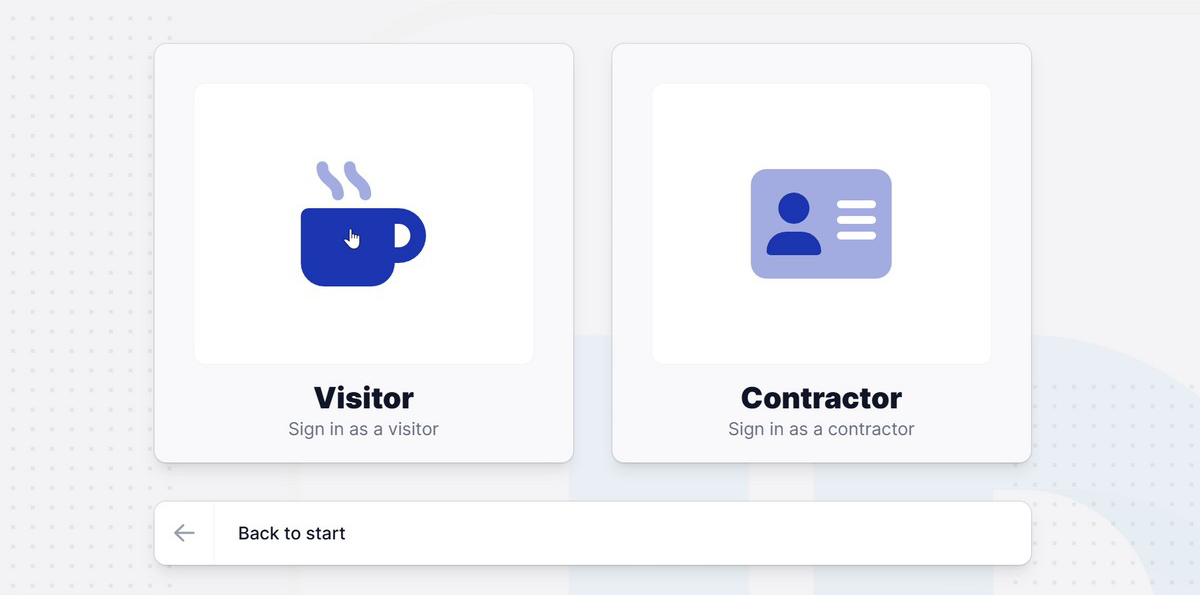
If both Enabled for Visitors and Enabled for Contractors are on, visitors choose Visitor (Sign in as a visitor) or Contractor (Sign in as a contractor) before continuing.
Security instructions
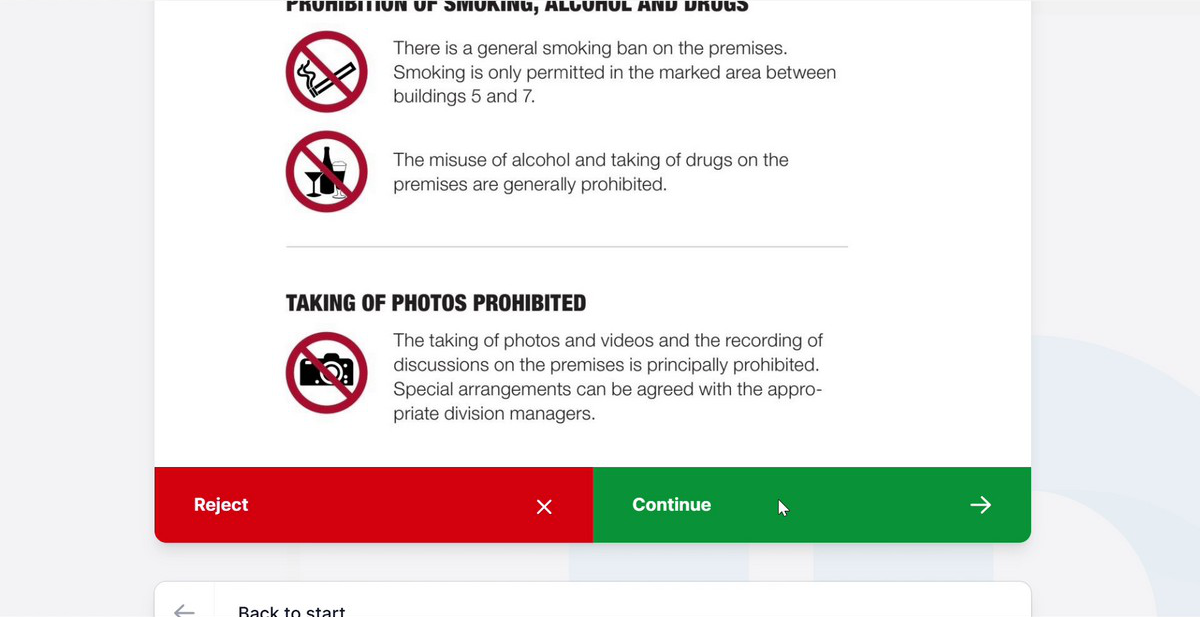
If Show Security Instructions is enabled, the VFD shows the house rules, for example restrictions on smoking, alcohol, drugs, and photography. Visitors select Continue to accept or Reject to decline.
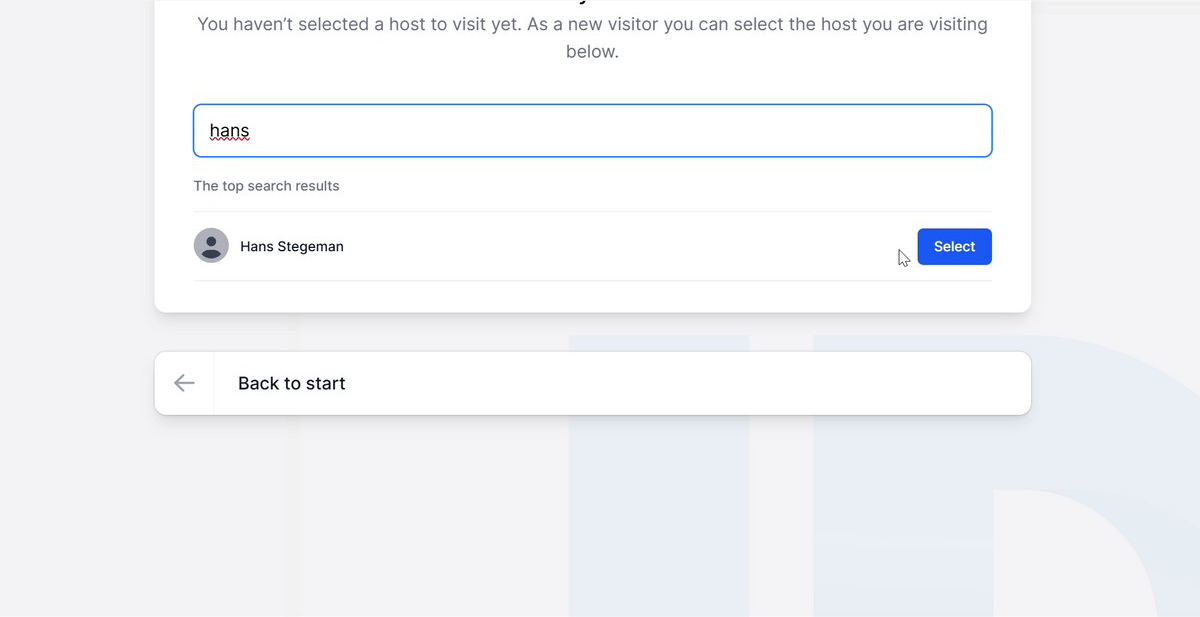
Host selection
On the registration screen, visitors search for their host:
- Enter part of the host's name in Enter the name from the host.
- Select Select next to the correct result. If none match, No results found, try adjusting your search appears.
Registration details
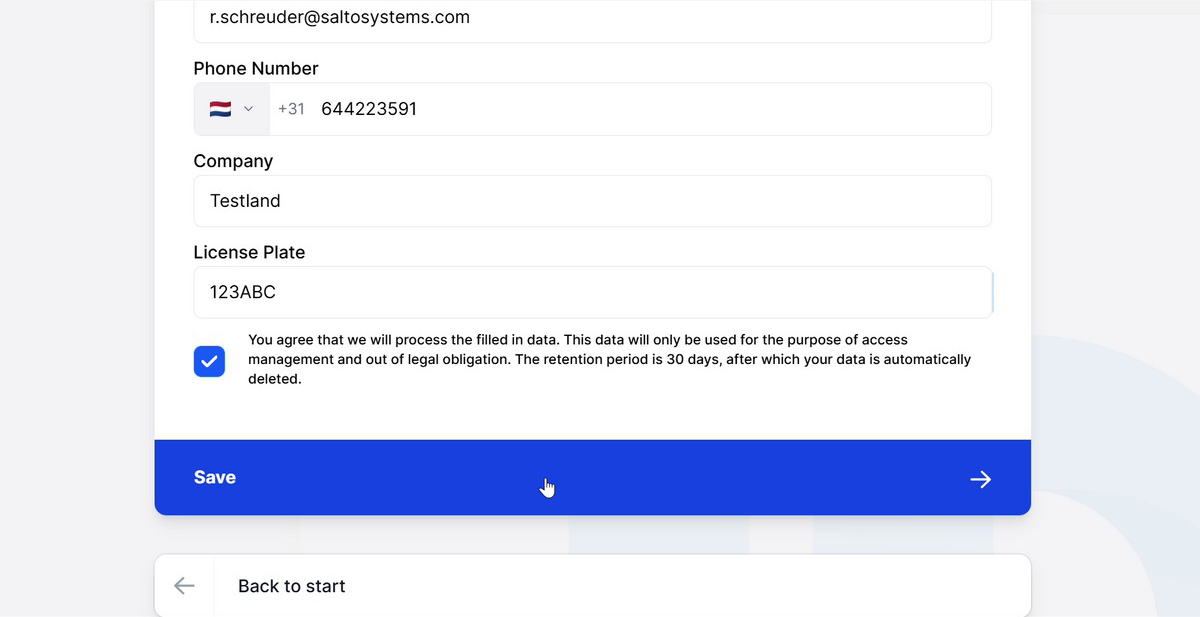
Visitors fill in the registration form:
- First name, Last name, and Email address (required)
- Phone Number, with a country code
- Company and License Plate
- A required privacy consent checkbox
Selecting Save submits the form.
Choose an access method
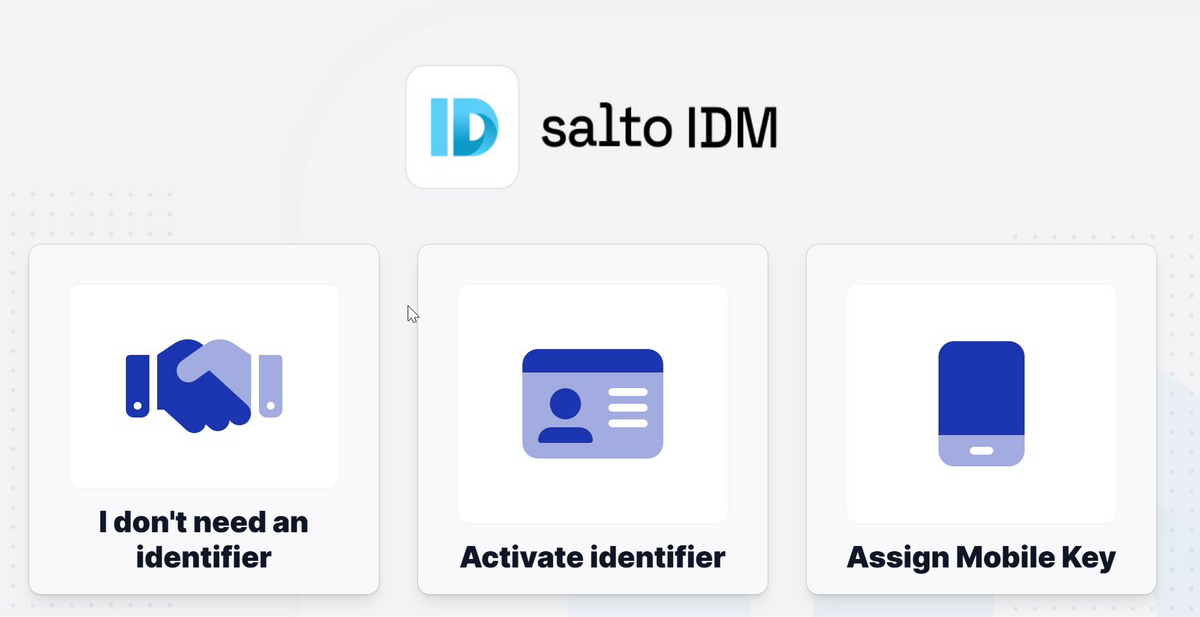
After registration, visitors choose how they get access:
- I don't need an identifier—continue without an access credential.
- Activate identifier—assign a physical card through the encoder.
- Assign Mobile Key—send a mobile key to the visitor's device.
Activating an identifier can prompt the browser for permission to access other apps and services on the device, needed for the encoder. Select Allow to continue. If activation fails, the VFD shows To try again.
Finish and print a name tag
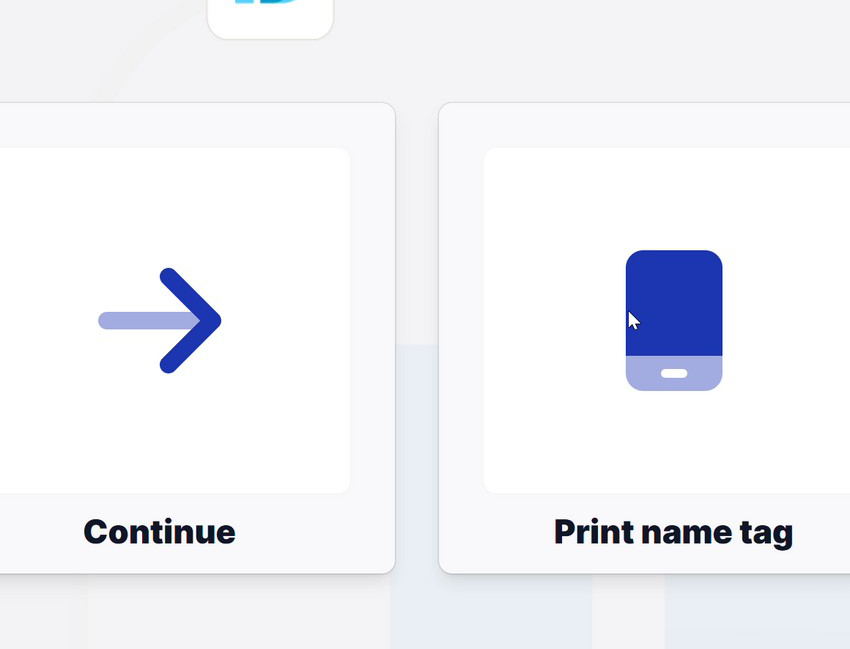
Visitors select Continue, or optionally select Print name tag to print a name label.
Door opening
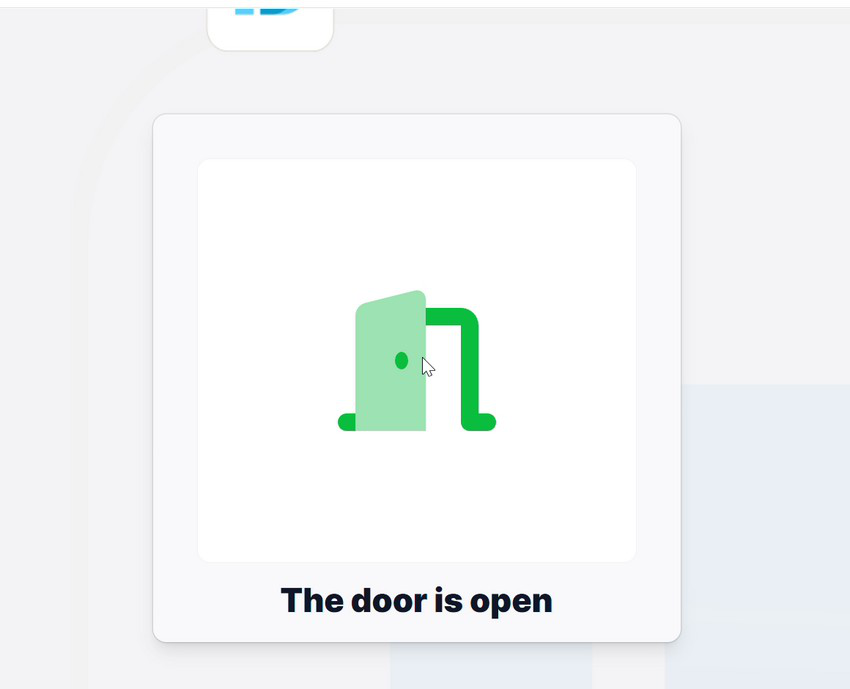
If Door Opening is set to Show a button to open door, the VFD shows Tap here to open the door. After the visitor taps it, the VFD shows The door is open, and the configured door unlocks.
Registration complete
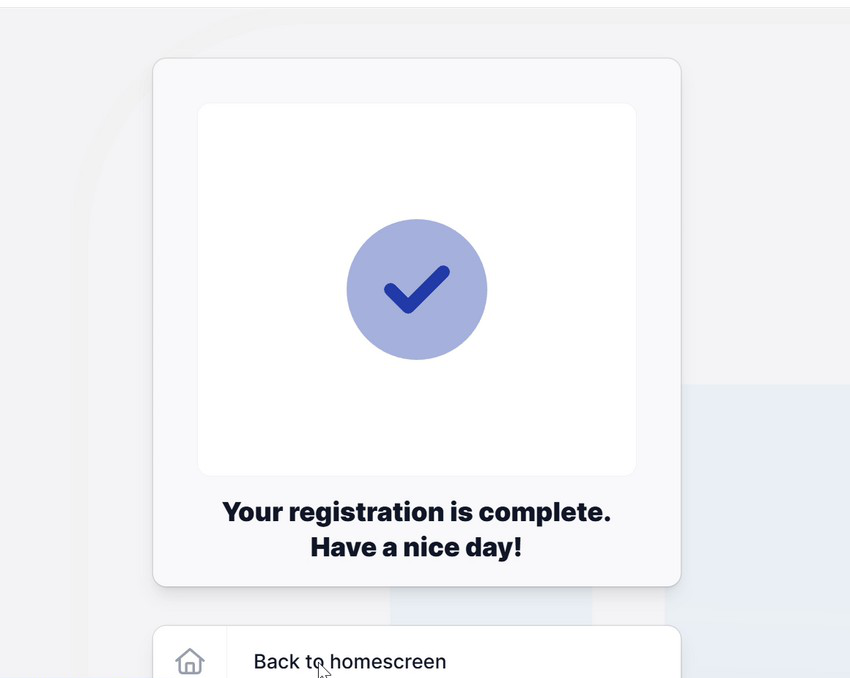
The VFD shows a confirmation message:
Your registration is complete. Thank you for visiting.
Selecting Back to homescreen returns to the welcome screen, ready for the next visitor.
Common error messages
| Message | What to do |
|---|---|
| "No results found, try adjusting your search" | The host isn't in the system, or the name doesn't match. Check the spelling, add the host under Default hosts, or review Enable require exact match in Default hosts > Settings. |
| "One Moment Please" (stays on this screen) | The connection to the back end is still processing. Wait a moment. If it persists, refresh the public page and try again. |
| "To try again." | Shown after selecting Activate identifier when the encoder didn't respond. Check that an encoder is selected under Assign Key and confirm the browser allowed access to other apps and services. |
| Browser prompt to use the camera | Required for QR scanning. Select Allow while visiting the site or Allow this time. |
| Browser prompt to access other apps and services | Required for encoder communication when activating an identifier. Select Allow. |
| QR code doesn't work | Use Enter your Pincode, or register again using Register. |
| Wrong language on the kiosk | Configure the required languages under Customization > Language and fill in the text for each one. |
 Back
Back
