Encoders in Nebula Beta
Overview
An encoder is a hardware device used to read and update physical keys like wristbands, fobs and keycards with access permission data. Users place their keys on the device and the data is passed to the system via the encoder. Encoders connect to gateways like the IQ3 via Bluetooth.
Encoders in Salto Nebula
| Model | Description |
|---|---|
 NCoder | The Salto NCoder is compatible with a wide range of contactless keys and is configured using the Salto Nebula app. |
An encoder must always be connected to a gateway parent device. Currently Nebula supports the IQ3 and the IQ3 Mini gateway models.
Creating encoders
You can create encoders in Nebula via the web interface or using the Nebula app during the device configuration process. If you create encoders via the web interface, they still need to be configured using the app.
For a full description of how to create and configure encoders see also the section for installers on configuring devices.
No matter whether you create encoders via the web or app, you need to create the parent gateway device before you create the encoder that lies beneath it. An encoder must always be connected to a gateway.
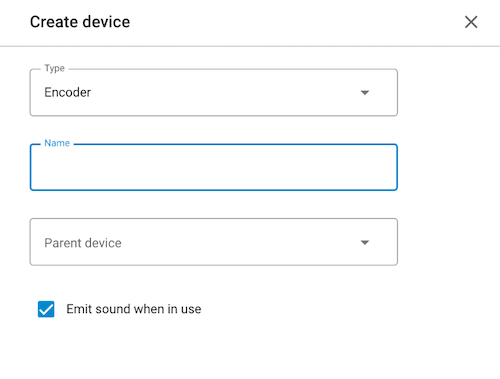
You create encoders in the Devices section of Nebula. To create an encoder go to Devices > Create and select Encoder from the Type drop-down menu.
 Encoders must always have a gateway as their parent device
Enter a name for your encoder. You can then add the encoder's parent device via the drop-down menu.
Emit sound when in use
The Emit sound when in use checkbox refers to the audible beeps emitted by the encoder during operation.
By default the encoder will make sounds during an operation, like when it is reading a key. However, if you uncheck this box the encoder will be silent.
Note that the sound can only be disabled on a per encoder basis.
Assigning keys with an encoder
In the Key section of the user's profile select the Encode option. Choose the correct encoder and place the user's key on top of the encoder. Note: if you only have one encoder in your installation, this will be the default encoder.
Ensure the encoder is connected to the gateway and click Assign.
For more information on assigning keys, see the section on assigning keys to users.
Read key
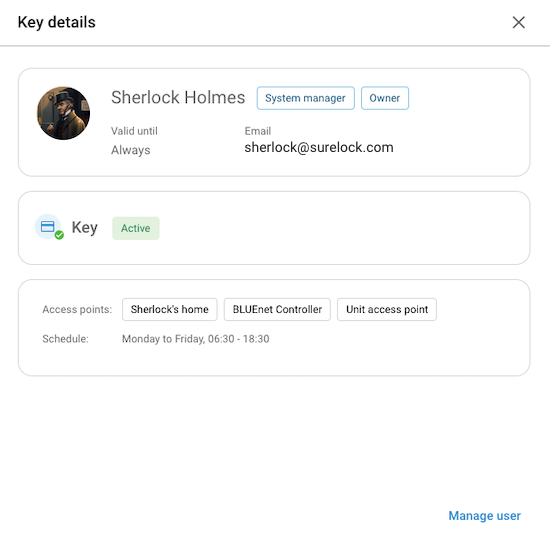
You can use the Read key option to see who a physical key belongs to or view other details, such which access points the user has access to. This might be useful if you find a lost keycard and you need to return it to the correct owner, for example.
To be able to read a key, the encoder must be connected to a gateway device.
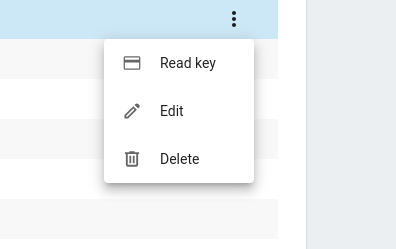
 You access the 'Read key' option from the 'Devices' > 'Encoders' screen
To read a key, do the following:
- Place the key on top of the encoder
- Ensure the encoder is connected to a gateway
- Press Read key in the Devices > Encoders section
- The Key details screen displays
 The 'Key details' screen provides information about the user and their key
Read key errors
The following table describes some of the possible errors that may display when you read a key with an encoder.
| Error | Description |
|---|---|
| User not found | This message displays if the user who was assigned this key is no longer in the system. It refers to a key that was previously assigned to a user, but which can no longer be read because the user has been deleted. For security reasons, the key data is automatically deleted from the key. |
| Empty card | No user assigned to this key. This message display either for keys that have been canceled or deleted as well as for new keys that have never been assigned to a user. |
| Key not found | This message could display if you use the Read key feature without placing any type of valid key on the encoder. It could also display if the key is placed incorrectly on the encoder. If this message displays, check the key is placed correctly on the encoder and try again. |